Ideas of rays effect is not mine I have also learned that rays effects from website talk-mania.com in 2008 also I am thankful to author, so today I thought to share this quick rays effects tutorial, this tutorial is very easy and its takes less time and steps to complete. so let’s start.
Open Photoshop and Create new
Create new document from file menu > new or press use shortcut key ctrl+n
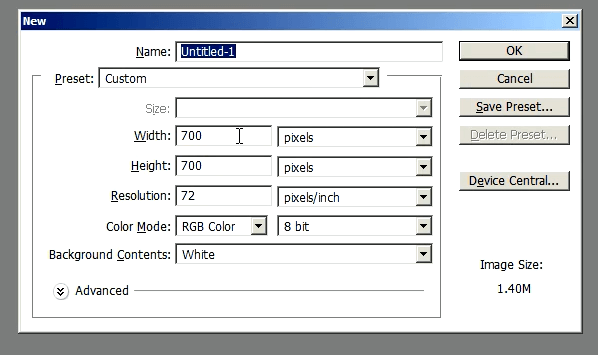
create new document for rays of light effects
Select brush
Select brush tool from left side tools or Press B shortcut key for selecting brush tool, set Master Diameter 20 px and 0% Hardness, as I selected in following image.
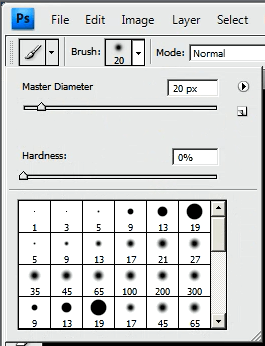
select brush and brush size
Draw Lines
Draw the ugly lines in document with brush tool, it doesn’t matter if lines are different you have draw, The effect result will be different don’t worry about that.
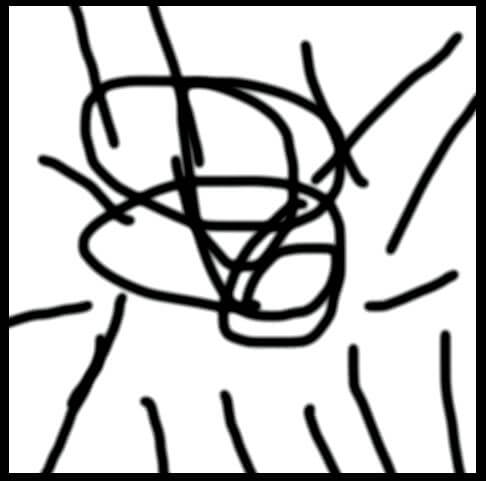
drag lines in image
Apply Radial Blur Filter on lines
Go to Filter from Menu > Blur > Radial Blur as shown in following image
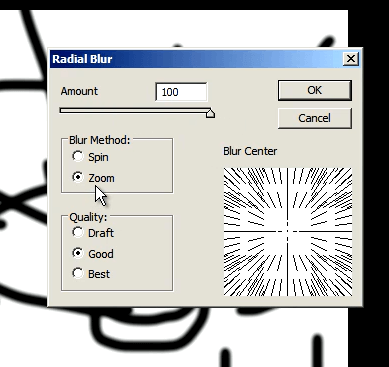
Radial Blur filter settings popup
Then a popup of Radial Blur appear on screen and select Amount: 100 and Blur Method: Zoom Quality: Good and click on OK. Apply same filter (Radial Blur) by using CLTR+F 4 times.
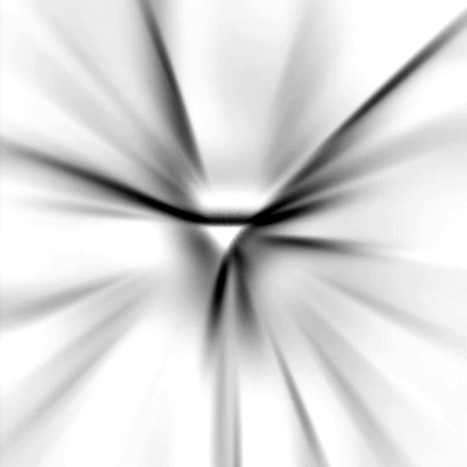
result after applying radial blur 4 times
Inverse the image by using CTRL+I check following result after inversed.
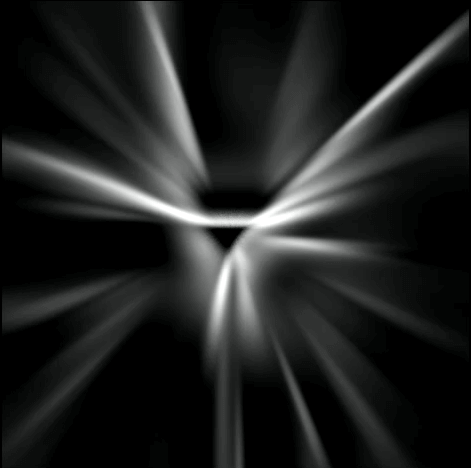
inversed by pressing CLTR+I
Apply Find Edges Filter
Go to Filter from Menu > Stylize > Find Edges as shown in following and
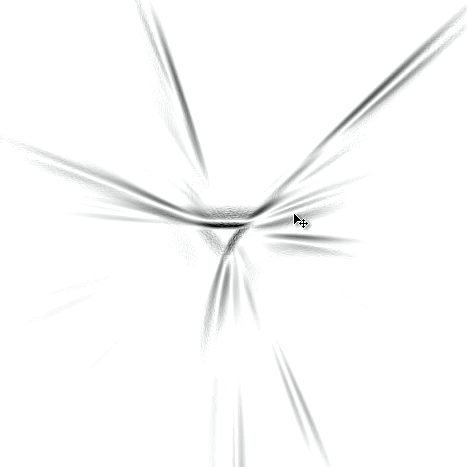
Stylize- Find Edges effect changes
Again inverse image by using CTRL+I
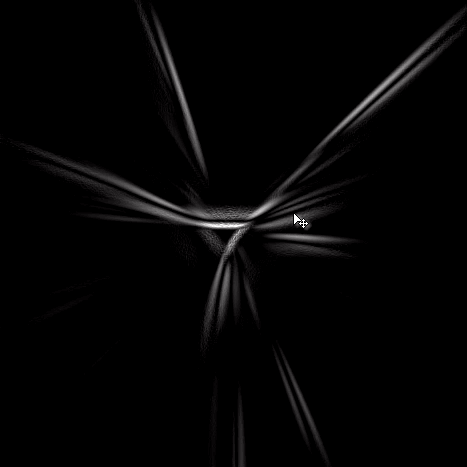
inverse-again
Apply Hue/Saturation
Select Hue/Saturation from Menu and use select Hue, Saturation, Lightness values as in following image.
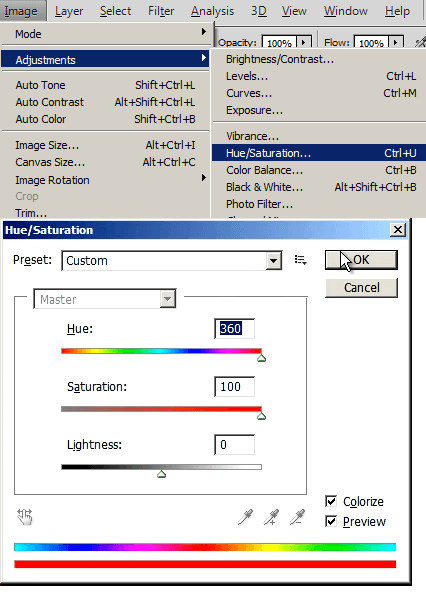
Apply Hue-Saturation
Apply Radial Blur again.
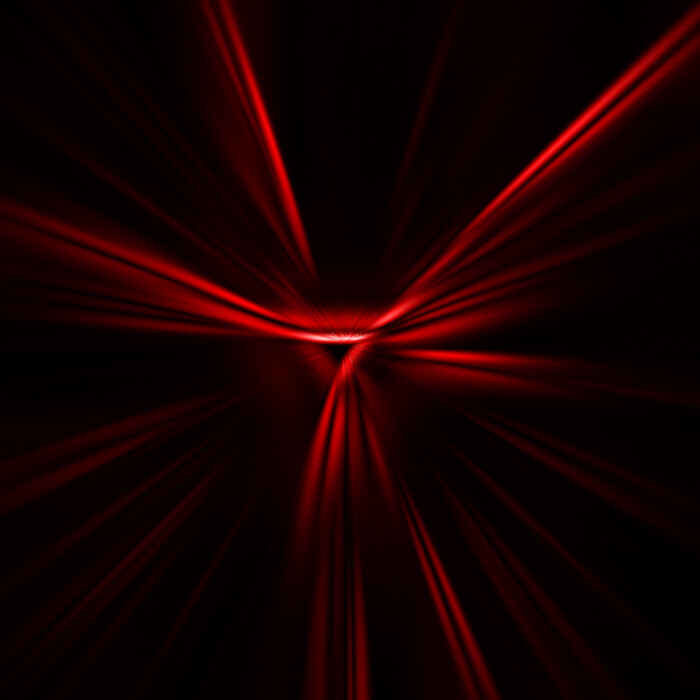
Photoshop-quick-effect-final
Twirl Image just for fun.
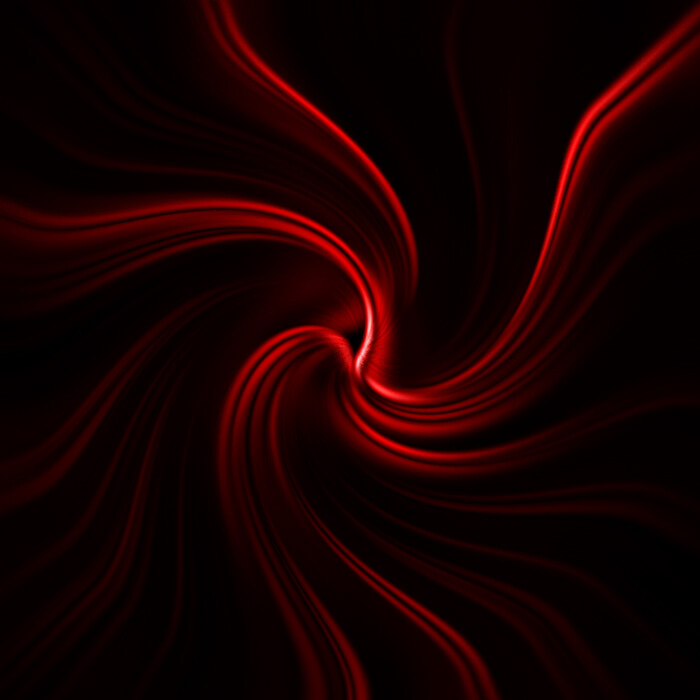
Photoshop-quick-effect-twirl


